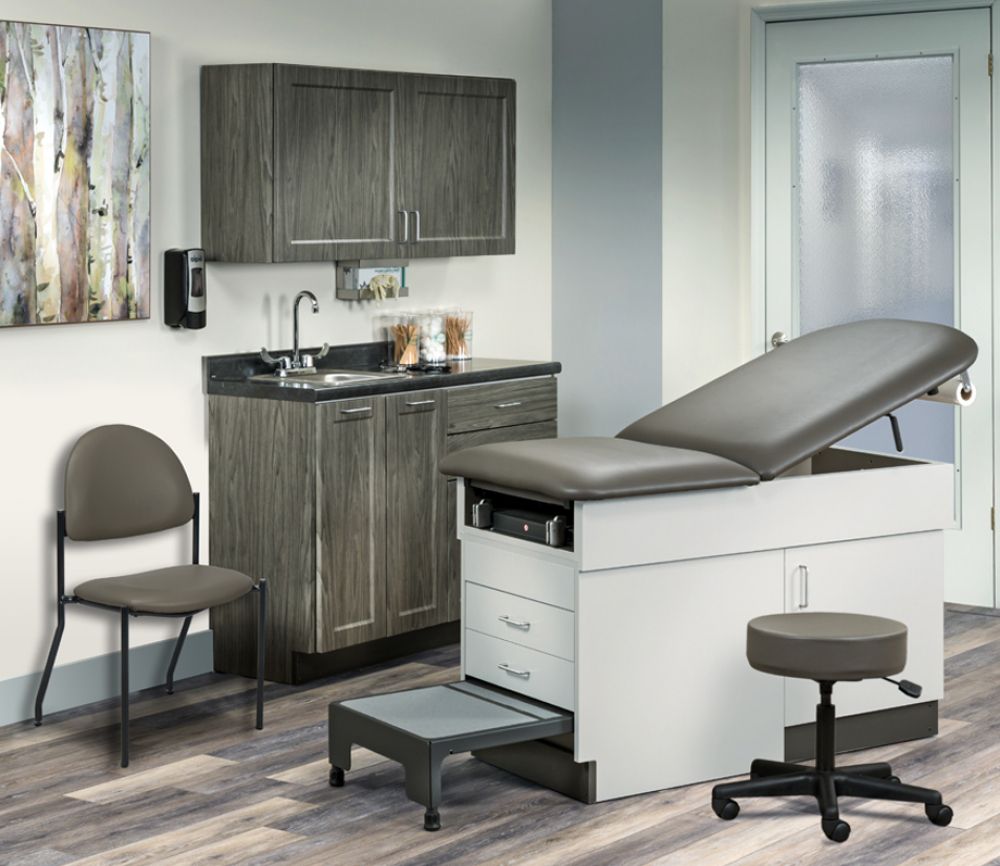
A Step-by-Step Guide on How to Design a Medical Office
TL;DR: Designing a medical office involves creating a welcoming and efficient environment for patients and staff. Follow these 7 steps to enhance workflow and patient experience:
- Understand your practice's needs
- Plan the layout
- Ensure regulatory compliance
- Select ergonomic, durable furniture
- Create a welcoming reception
- Design functional exam rooms
- Focus on aesthetics and ambiance
Designing a medical office is more than just choosing furniture and picking paint colors. It’s about creating a welcoming and efficient healthcare environment for both patients and staff.
The layout and design of a medical office can significantly impact patient experience. For healthcare providers, a well-designed office enhances workflow and improves productivity. And for your practice, this supports the ability to treat more patients and bolster your bottom line.
So, without further ado, here are the 7 steps to medical office design every practice can follow.
Step 1: Understanding the Needs of Your Practice
There is no one-size-fits-all approach to medical office interior design. While there are overarching needs, some practices may require additional furniture based on their specialty and patient demographics.
For instance, clinics may require specialized rooms and equipment tailored to specific medical fields such as cardiology, dermatology, or orthopedics. A pediatric clinic will prioritize child-friendly spaces and medical furniture, while geriatric practice might prioritize accessibility and comfort. Practices that serve a high number of patients with mobility issues should make sure their office is wheelchair accessible.
Understanding the needs of your practice and patients ensures you create a space that not only meets regulatory standards but also enhances the patient experience.
Step 2: Planning the Layout
Next, consider any space limitations. It is important to optimize your space and prioritize functionality and comfort.
Medical office design extends to:
- Reception area
- Waiting rooms
- Consultation rooms
- Treatment rooms
- Administrative offices
- Restrooms
You can learn more about the key components of an efficient exam room layout from our blog.
Step 3: Compliance with Regulations and Standards
As you design your medical office, it is important to comply with all healthcare design regulations and standards. The Americans with Disabilities Act (ADA) emphasizes that:
“Healthcare facilities must ensure that their facilities are accessible to people with disabilities. When possible, medical equipment should also be accessible…Healthcare providers must have an accessible facility that meets the 2010 ADA Standards for Accessible Design and have accessible exam/ treatment/procedure rooms available.”
Medical office design should also include private spaces and equipment that are compliant with HIPAA standards for patient privacy and confidentiality.

Step 4: Selecting Medical Furniture
Finally, it’s time to select furniture for your office. Medical furniture for exam rooms and waiting rooms should be ergonomic and comfortable. Comfortable seating in waiting areas, exam tables that accommodate different body types, and supportive chairs in consultation rooms can improve the patient experience. For staff, ergonomic desks and chairs can reduce strain and fatigue.
Durability is also a factor. Opt for medical furniture made with high-quality materials and easy to clean.
Step 5: Creating a Welcoming Reception Area
With all of this in mind, we can explore the specifics of medical office design room by room. Medical office reception area design is important because it is the first thing patients see. It is also where they spend their time waiting to be seen.
Create a comfortable and welcoming waiting area. Calming colors, natural light, and other décor can help reduce patient anxiety.
Step 6: Designing Examination and Treatment Rooms
Comfort is still important in exam and treatment rooms, but so is efficiency and cleanliness. Create a space that is both comfortable and functional. This starts by choosing a layout that makes it easy for your staff to work in and extends to versatile medical furniture.
For example, cabinet solutions or exam tables with storage can streamline daily operations by keeping equipment organized and secure yet still accessible. They also contribute to the overall aesthetics of your medical office.
Step 7: Focusing on Aesthetics and Ambiance
Balancing functionality with aesthetic appeal is always the goal of medical office design.
Make sure all design elements serve a practical purpose. For example, choose cabinets that are easy to clean and durable but also visually appealing. You can also find exam tables to complement your medical cabinets and vice versa for a cohesive look.
If you don’t know where to start, ExamTablesDirect offers a variety of medical office design ideas to help. Our Exam Room Packages include all your exam room needs while creating a cohesive space.
We also offer medical exam room design with Midmark to help you deliver a better healthcare experience. We will work with you to create an office design tailored to your exam room layout and unique needs. Learn more about medical office design with ExamTablesDirect.
Recent Posts
-
The Difference Between 224 and 225 Midmark Power Tables
When it comes time to purchase a new exam chair for your practice, you’ll have many options and bran …11th Dec 2025 -
Compliance Matters: Meeting Medical Equipment Standards
TL;DR: Understanding and maintaining medical device compliance is vital for ensuring patient safety, …27th Nov 2025 -
How to Disinfect Medical Tables
TL;DR: Properly disinfecting medical tables is essential for patient safety, equipment longevity, an …26th Aug 2025


